Back when I moved into the apartment I put up a (pardon my french) half-assed gallery wall with photos that I'd taken. It was colorful, featured pictures of us and kitty, and my family, but didn't achieve much in the way of enhancing the room aesthetic and feel. And as all home projects go, once it was partially up there and I wasn't running about looking for mats or feeling excited about it - I lost steam. Fast forward to a year later and Ben and I needed to frame a new piece of art. We headed to pick up some frames and decided it was time to revamp the art in the apartment and finally realize the gallery wall.
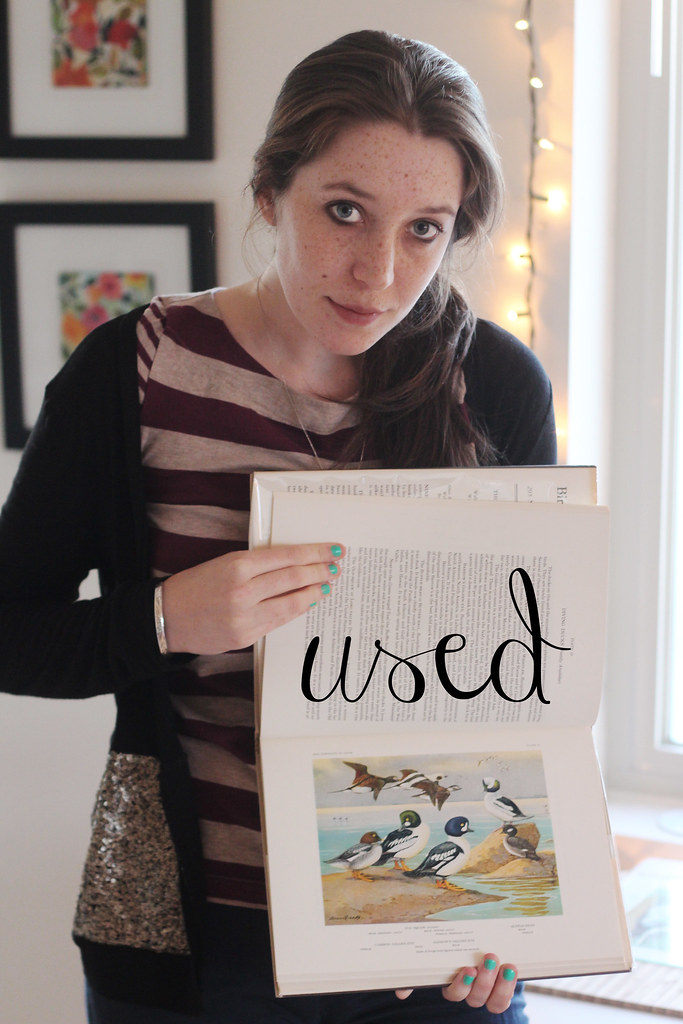
To revamp the art in our house on a budget, we stole an idea from my ever-wise mother: cut out plates from art books and frame those plates. Those of you that have never defaced a book are going to cringe (and we did, trust me), but this is the cheapest and nicest way to achieve professional looking pieces of art. First, we decided on a theme.
As we recently purchased a Seebohm gull egg print, we wanted to go with a bird theme for the apartment. We went to a local bookstore and bought a favorites of Audubon book with large print, color photos and then another book with prints of birds as seen above. If you're looking to purchase a book for this purpose, I highly recommend used book stores, as the Audubon book ran us $6 and the one shown above was $15. For all of the prints that we can get out of them, that's an insane steal. Tip: If you're going to do this, find books with large color plates that will be nice for framing. I wouldn't recommend going under 8x10 otherwise the photos look lost on the wall.
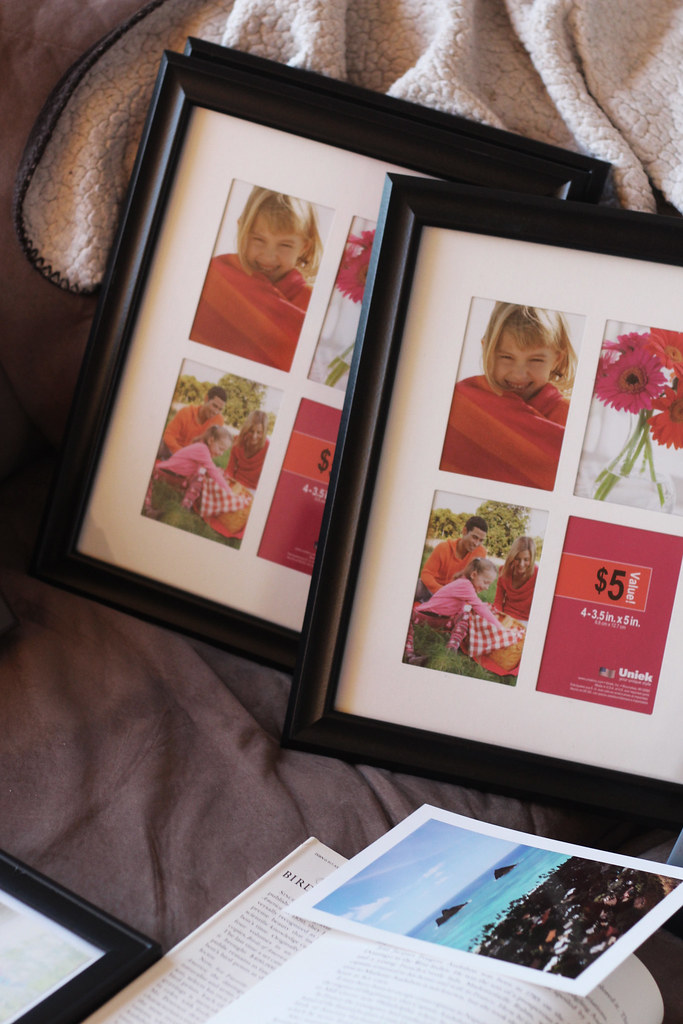
My favorite place to get frames is Kmart. They have the cheapest, cleanest looking frames. My favorite frame line is by Jaclyn Smith as they're clean, classy, affordable (while still containing real glass), and come matted. I also found these frames pictured above on a $5 clearance sale. The only ones available had weird matting (four small photo openings instead of one mat), but we ended up just cutting out the cross-section and getting an amazing deal. Getting different styles of frames in the same color palette (we use black and silver frames) helps the gallery wall look more interesting and eye catching, so don't be afraid to mix and match. Tip: Always look for frames that come with mats. Mats will run you a few extra dollars on their own and can be hard to find at a store like Target or Kmart.
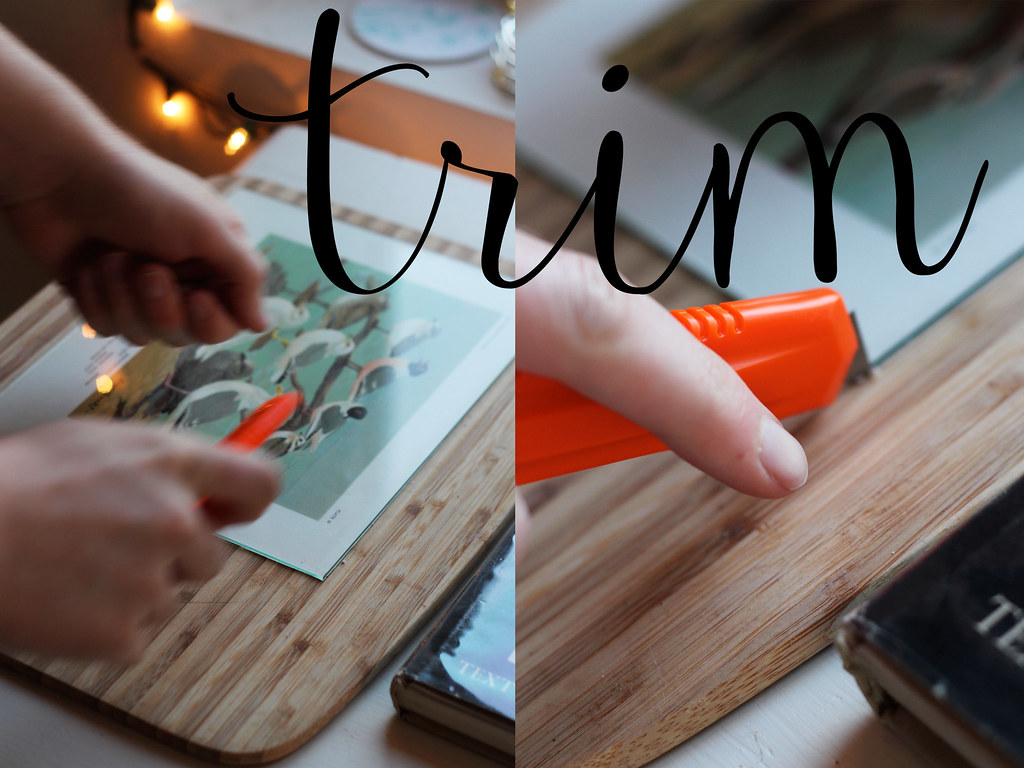
Once you've got your books and frames, you'll need to cut the prints out of the books and trim them to size. This can be tricky, but make sure you're measuring well before trimming. You can end up ruining the print by cutting it too small and having it not fit in the mat.
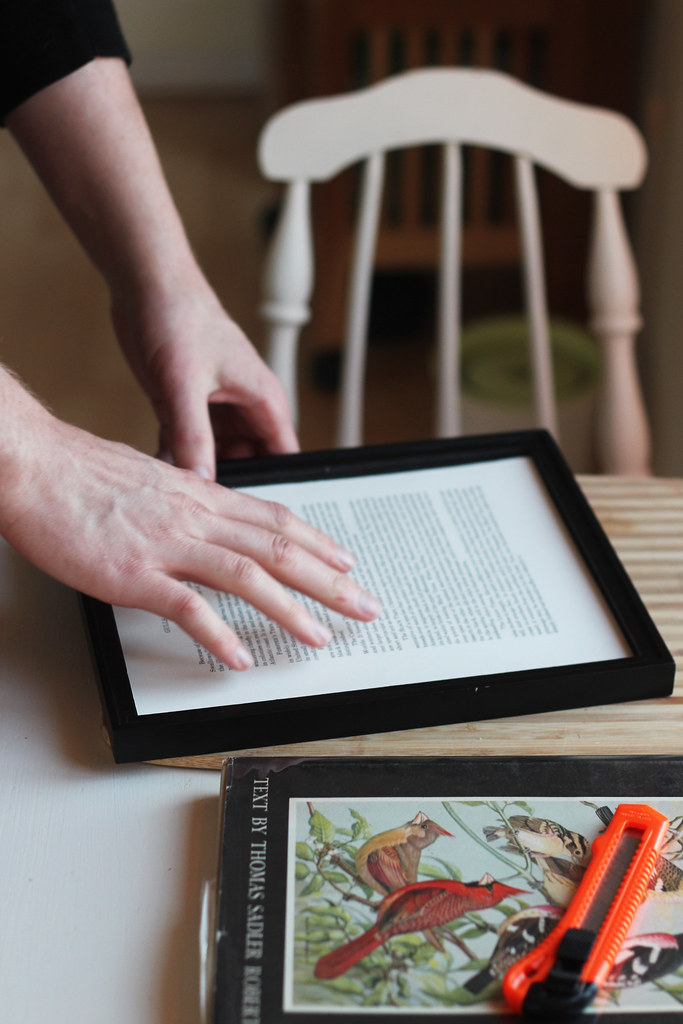

Above is the end result of framing the print and below is the result of the frame wall (please excuse my ugly couch!). In this particular photo, we opted not to use the matting because we wanted to get all of the great text in about the types of gulls pictured. When I hung the photos I didn't do much to plan, just hung them at different heights, distances from each other, and made sure that none of the photos were centered against each other. Clearly below they need a little bit of straightening out, but you get the idea.
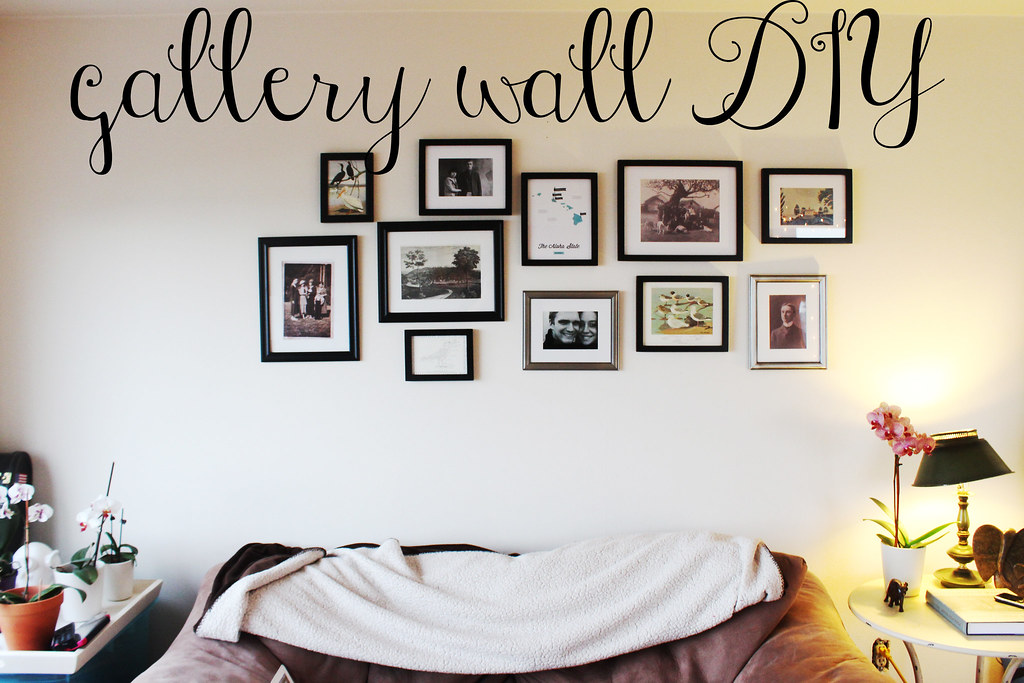
I'm thrilled about how the wall came out and in person it looks a lot more impressive! We decided to go with a blue tone and black and white wall including photos of birds, a black and white figure drawing of a birds anatomy, ancestor and family photos, and then some primitive colonial art (drawings of farms). It entirely lightened and livened the room. In the bedroom, I used the same process detailed above but for regular prints of Audubon's hummingbirds and songbirds. We ended up hanging three 11x14 frames in the bedroom of song birds and they look beautiful! It's really an awesome way to add professional looking art to your home.
Looks very impressive! Great job!
ReplyDeletehttp://cbijicollection.blogspot.ca/
I love gallery walls! I will admit that I totally did a half-ass job with mine and in my next apartment I am going to one like yours!
ReplyDeleteGreat DIY project! I should do this for my office, I've noticed it needs pictures.
ReplyDelete-Vogue&Heels
vogueandheels.com
This is such a great idea! Looks fab. x
ReplyDeleteCharlotte
http://www.winstonandwillow.com
http://www.facebook.com/winstonandwillow
LOVE this DIY! And you're right...it totally livens up the room. Nicely done girl :)
ReplyDeletexo - marion
very nice project!
ReplyDeleteLA By Diana Live Magazine
I love this DIY! I would like to be in my country to try to do it in my room :)
ReplyDeleteAlessandra
Follow me on ♡ Whitelicious
and read my latest post: Short Hair Inspirations.
This is such a great idea! And it came out so absolutely lovely!
ReplyDeleteI LOVE this! I did a gallery wall in my room a few years ago, though now wish I read read your ideas first!
ReplyDeletexx, Emily
http://soanthro.com
I've wanted to a gallery wall on my stairs for years and am just too scared to start! Im impressed :)
ReplyDeleteI love gallery walls...you did a great job!!
ReplyDeleteLove this idea!
ReplyDeletelifebyhana.blogspot.com
Looks great! Framing pieces and hanging them takes a lot of patience... i still haven't hung one my degrees on the wall because I know I'll get stressed with alignment and if it's properly evened haha!
ReplyDeletexo
http://polkadottedpearl.com
This is awesome! I used to rip out pictures in magazines and frame them with black construction paper... :) This is super creative!
ReplyDeleteHope
hchdesigns.blogspot.com
This is so creative! Amazing idea!
ReplyDeletekisses)
You have such a great eye for interior design! Your place always looks so warm and cozy.
ReplyDeleteThis is SUCH a good idea that I never would have thought of. Totally doing this - you can get great art books at thrift shops for as little as $1 if you dig!
ReplyDeleteCute! I love all the different sizes grouped together. My friend has something similar in her stair case wall and it's really fun.
ReplyDeletexoxo,
Jules of Canines & Couture
www.caninesandcouture.com
I think this looks lovely! I have to remember to go to Kmart for cheap frames...
ReplyDeletexo
Ashley
Southern (California) Belle
yeah that looks really cool!
ReplyDeleteTiff Ima
Style Honestly
to hangyour pictures use two hangers about 6 " apart and your pictures will never be crooked even if the wall shakes.
ReplyDelete