About this time of the year, I start counting down to Christmas, get my festive-shorts on, and start crafting. I'm a menace. I was brainstorming front desk displays for my old job (that's how much I miss it!) and thought about a no-carve activity that would be fun for young and old-alike. I have to admit that the painted pumpkin idea is certainly not an original (thanks, Martha Stewart), nor is the dip-dye (thanks, world)... but this is a chic way to decorate your house for Fall and I succeeded at it. So I'm sharing below.
To decorate pumpkins you'll need:
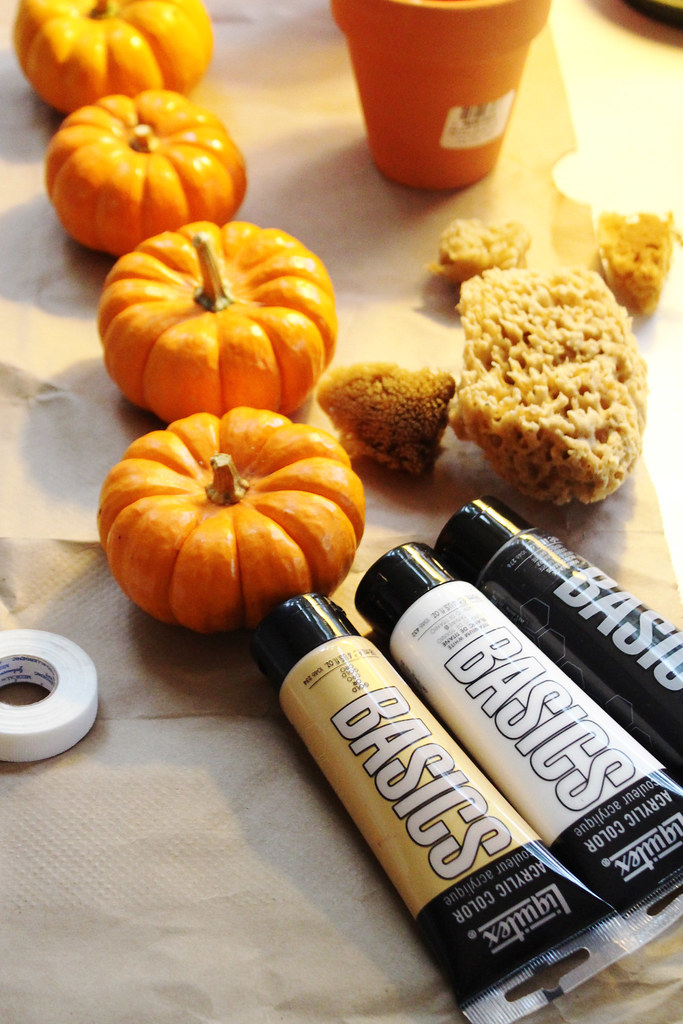
Decorative gourds or a big pumpkin (look for the smoothest ones)
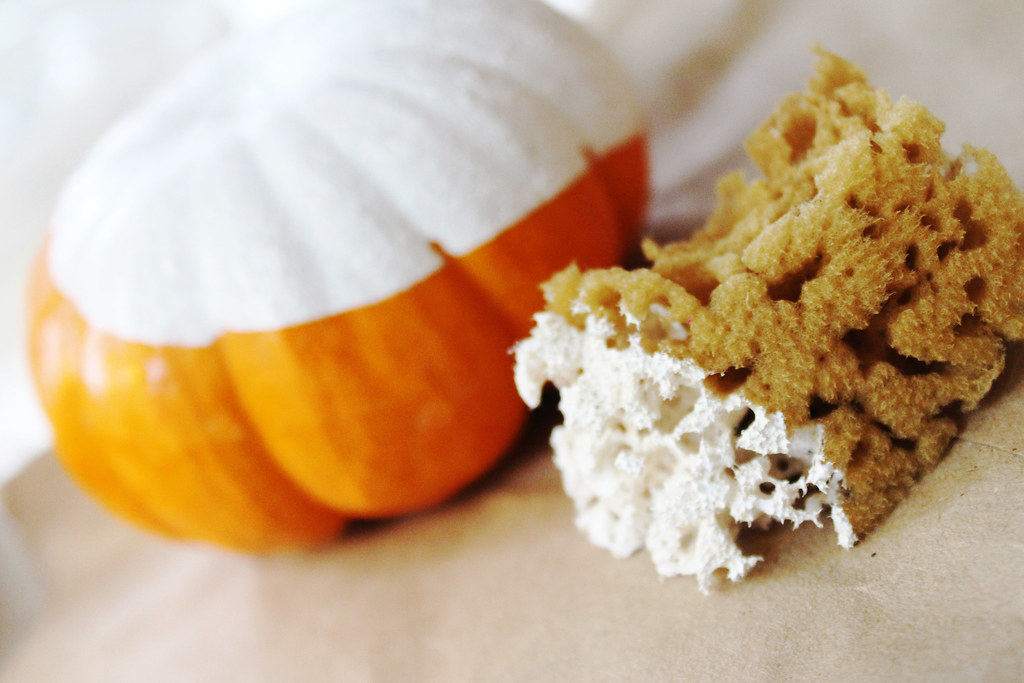
Brushes or sponges (I used sea sponges and they were great for my skill level)
Painters (or medical/athletic) tape
Snag some Joann coupons here!
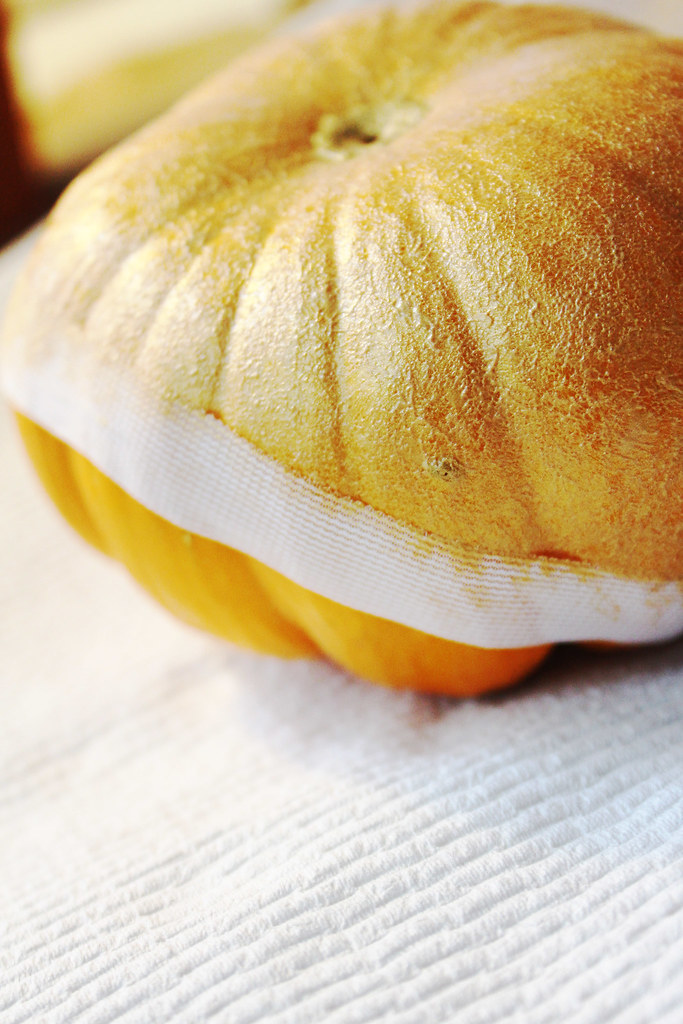
If you want to achieve a dip-dyed or geometric look, make sure your painters tape is pressed flat against the pumpkin. If the pumpkin is ridged you might need to accept the little paint divots or take extra care. Keep in mind that a sponge can have a wide sponging radius, so if your tape isn't very wide you run the risk of accidentally smudging the rest of your pumpkin. This acrylic paint came off easily with water quickly applied, so keep some on hand.

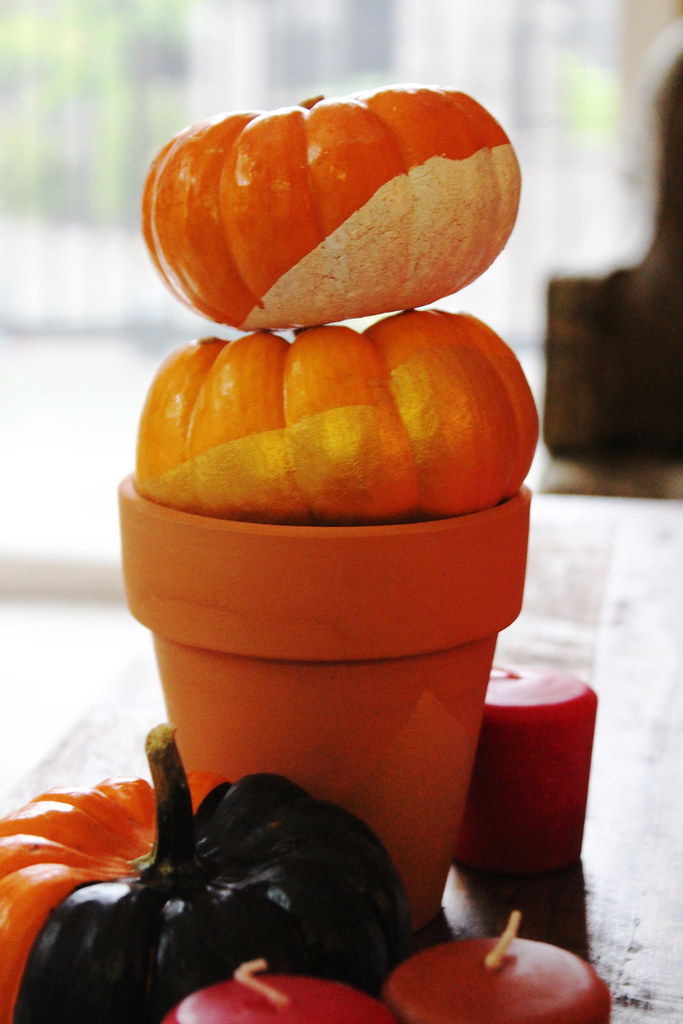
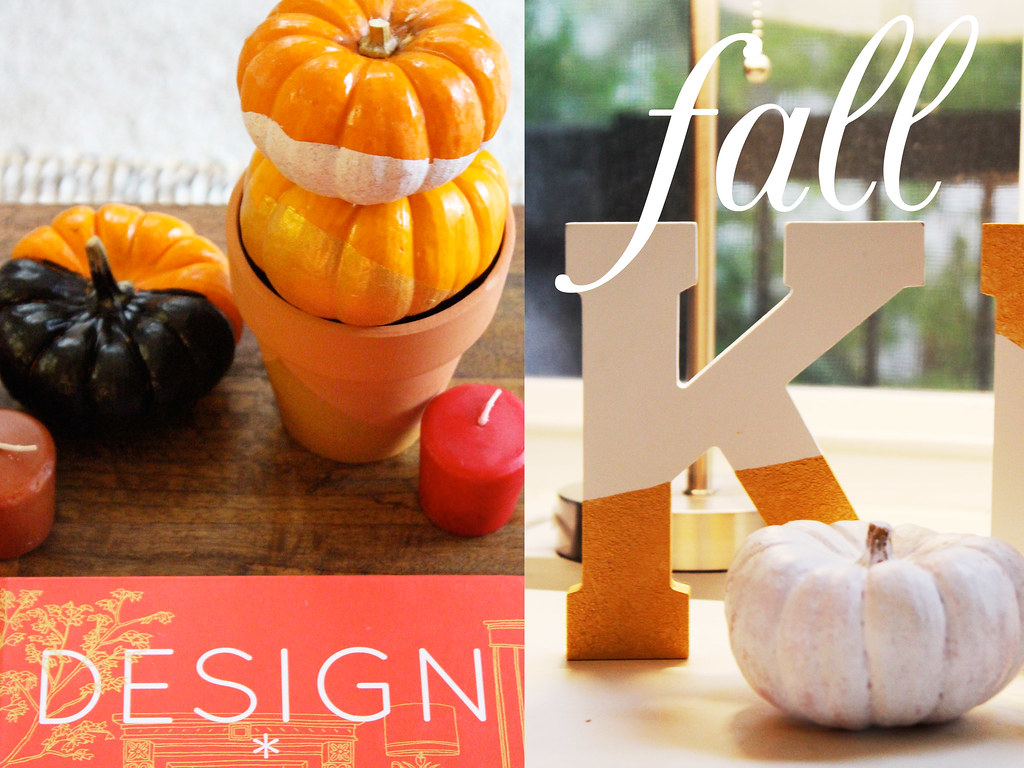
Voila! I painted my pumpkins at varying angles for variety, using white, black, and gold paint. Black came off the most dramatic and only required one coat. The gold wasn't as awesome over the orange pumpkin, but too fun to pass up. Add in apple and cinnamon candles and a decorative container and you're set.

I also decided to make some more dip-dyed decor and paint some letters for our display as well. These initial letters were only $2.99 at JoAnn's and easy to paint. If you're looking for a very easy mantlepiece decoration, hand painted letters are an awesome option. I used the same method above and covered the letters in painter's tape and then sponged on gold paint! Voila - holiday decor that isn't tacky.
And speaking of the spooky season, my brother just started selling his art on Society6 and I couldn't help but point out the awesome ways his art translates into iPhone cases. I happen to think he's super talented and I just ordered the rooster (left) and can't wait for it to arrive. Just two examples below - click through for more.


Don't forget to enter the $225 Nordstrom giveaway!
I love love love these pumpkins.. seriously how adorable! I want to make myown!
ReplyDeleteThe DIY pumpkin is so cute (: I absolutely love them! You're so full of ideas (: x
ReplyDeletehttp://birdiethgirl.blogspot.com
This is probably one of the easy and practical DIY's I've pinned on Pinterest. Have you ever tried a DIY and it came out horribly wrong?
ReplyDeleteI love your little pumpkins and may try it out myself!
xo, Nina
afterthe40barfinish
this is way too cute girl and so affordable!! love love
ReplyDeleteXO Meghan
citrus fashion
Ah they came out so so cute! Love the gold of course!
ReplyDeleteThe pumpkins came out so cute! I love the letters too!
ReplyDelete-Sharon
The Tiny Heart
PayPal Cash Giveaway!
How adorable!! I love these crafts!
ReplyDeletexo Amy
You did a great job with these! They're adorable!
ReplyDeleteso beautiful :)
ReplyDeletelove this DIY!
ReplyDeleteLA By Diana
These are so cute! I hope to paint some pumpkins this year :)
ReplyDeletexo
Ashley
Southern (California) Belle
This is such an adorable DIY! Hooray for fall!
ReplyDeleteXo, Hannah
sweetsweetnoir.net
Such a fun and simple DIY for fall, definitely going to try it :)
ReplyDeletexx
- Jess
www.aglamdiary.blogspot.com